Between a beautifully sculpted 3D model and a character that walks, talks, and emotes, there is a critical (and often invisible) stage: rigging. If you’ve ever wondered why your animation team needs extra time after the model is approved, this guide is for you. We’ll demystify the character rigging process so clients, beginners, and curious creators understand exactly what happens behind the scenes.
What Is Character Rigging?
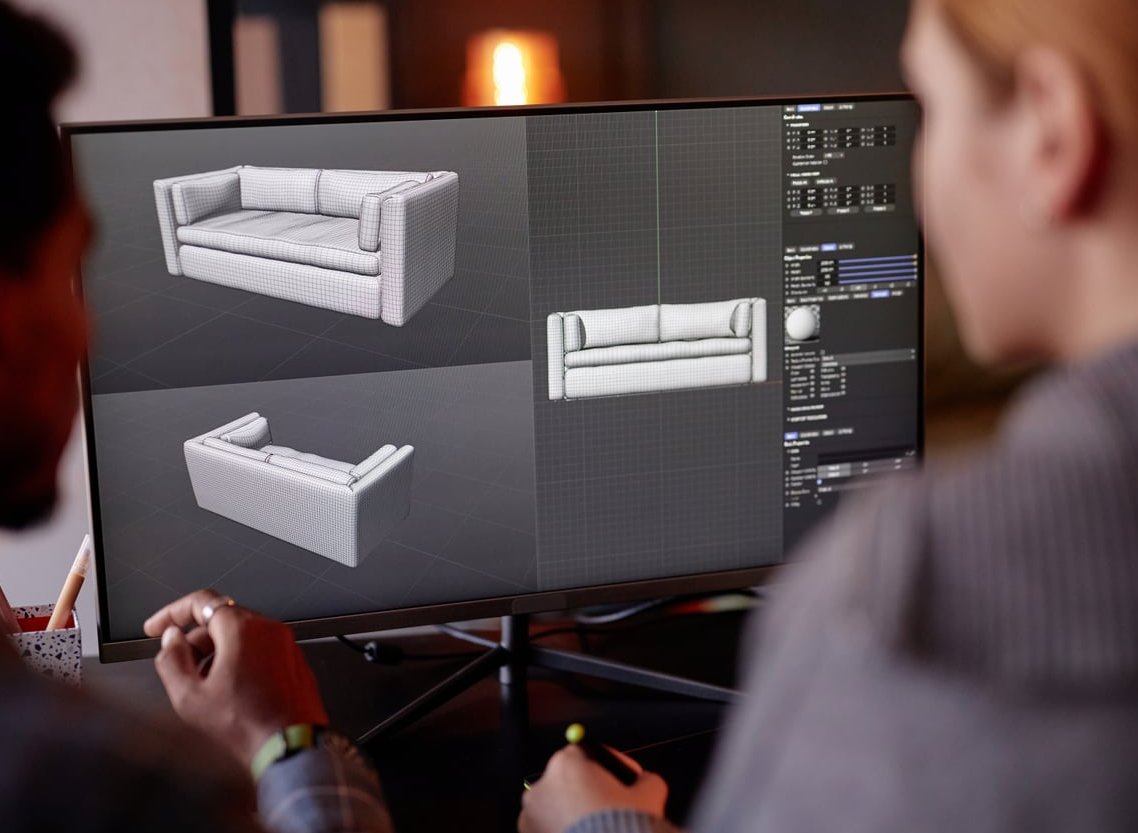
Character rigging is the process of turning a static 3D (or 2D) model into a poseable digital puppet. It involves building a digital skeleton inside the mesh, attaching that skeleton to the geometry, and creating intuitive controls so animators can pose and move the character efficiently.
Think of it like preparing a marionette: the model is the wooden body, the skeleton is the internal armature, and the controls are the strings the puppeteer pulls.
Why Rigging Matters in the Animation Pipeline
A great model with a poor rig will frustrate animators and produce stiff, unconvincing motion. A solid rig, on the other hand, can make even a simple character feel alive. Rigging directly impacts:
- Animation speed and overall production timeline
- Deformation quality in joints, face, and clothing
- Reusability across multiple shots or projects
- Director iterations, since clean rigs allow faster revisions
The Character Rigging Process Step by Step
While every studio has its own flavor, the core character rigging pipeline follows the same logical order.
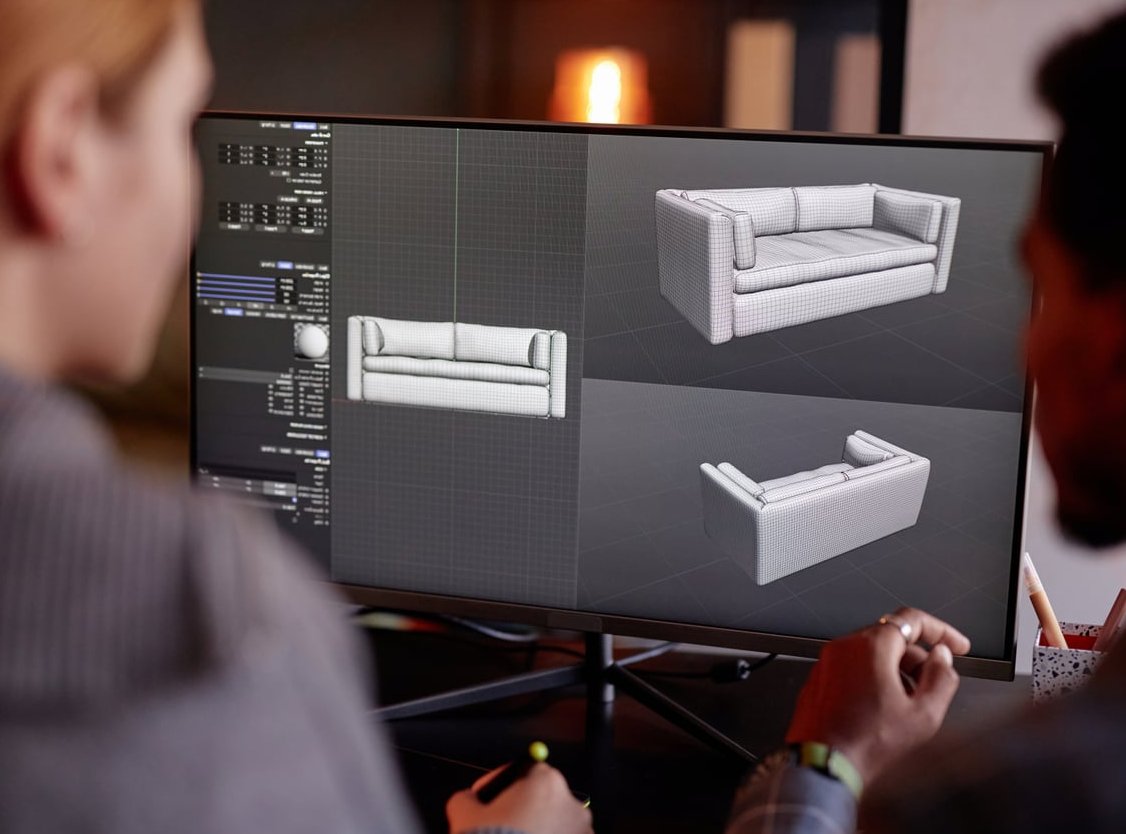
1. Preparing the 3D Model
Before any bones are placed, the model must be rig-ready. Riggers usually check:
- Clean topology with proper edge loops around joints
- Neutral A-pose or T-pose
- Correct scale and centered pivot
- Symmetry where possible
2. Skeleton Creation (Joint Placement)
This is where the digital bones are placed inside the mesh. The skeleton mirrors the anatomy of the character: spine, hips, arms, legs, fingers, jaw, and so on. Good joint placement is essential because it dictates how the character bends.
Key principles:
- Place joints at the actual pivot point (not visually centered on the limb)
- Maintain a clean parent-child hierarchy
- Orient joints consistently so rotations behave predictably
3. Skinning and Weight Painting
Skinning binds the mesh to the skeleton. Each vertex is then assigned a weight indicating how much it follows each joint. Weight painting is the art of fine-tuning these values so deformation looks natural.
Common challenges include shoulders, hips, elbows, and knees, where multiple joints influence the same area. A skilled rigger spends hours testing extreme poses to refine the weights.
4. Building Controls (The Animator’s Interface)
Animators don’t move bones directly. They interact with controllers: visual shapes (curves, boxes, circles) placed on top of the rig. Behind the scenes, these controllers drive the joints through constraints, expressions, and rigging logic.
Typical control systems include:
- FK (Forward Kinematics) for arcs and natural arm/leg swings
- IK (Inverse Kinematics) for planted feet and hands
- FK/IK switches to combine both
- Space switches for parenting hands to the world, hip, or chest
5. Facial Rigging
Faces deserve their own rig. Two main approaches dominate:
- Blend shapes (morph targets): sculpted facial expressions blended via sliders
- Joint-based facial rigs: small bones driving the face, often combined with blend shapes
6. Testing, Cleanup, and Delivery
Before handing the rig to animation, riggers stress-test it with extreme poses, lock unused channels, hide construction nodes, and document how the rig works. A clean, well-named, and well-organized rig is a gift to every animator who touches it.
Rigging Pipeline at a Glance
| Stage | Goal | Typical Output |
|---|---|---|
| Model prep | Ensure clean, rig-friendly geometry | Validated mesh in T/A-pose |
| Skeleton | Define joint hierarchy | Oriented joint chain |
| Skinning | Bind mesh to skeleton | Weight-painted model |
| Controls | Provide animator-friendly interface | FK/IK rig with curves |
| Face | Allow expressions and lipsync | Blend shapes / facial controls |
| QA | Validate and clean up | Production-ready rig |
Common Pitfalls in the Character Rigging Process
Even experienced teams stumble on the same recurring issues. Watch out for:
- Bad joint orientation that causes axis flipping during animation
- Overly complex weight maps with too many influences per vertex
- Volume loss at elbows, shoulders, and knees when no corrective shapes are added
- Unnamed or messy nodes that confuse animators and break tools
- Skipping documentation, leaving animators to guess how the rig works
- Not testing extreme poses before delivery
Manual Rigging vs. Auto-Rigging Tools
Auto-rig solutions like Mixamo, AccuRIG, Advanced Skeleton, or Maya’s HumanIK can save significant time, especially for game characters or background cast. However, hero characters in cinematic productions almost always require a custom-built rig for full control.
- Auto-rig: fast, standardized, great for prototyping and game pipelines
- Custom rig: tailored deformation, advanced controls, ideal for film and high-end animation
How Long Does Rigging Take?
Timeframes vary widely depending on complexity:
- Simple prop or creature: a few hours to 1 day
- Game-ready humanoid: 2 to 5 days
- Cinematic hero character with face: 2 to 6 weeks
Final Thoughts
Rigging is the silent engine of animation. It’s invisible to the audience but absolutely essential to anyone who wants believable motion. Understanding the character rigging process helps clients plan realistic timelines, helps beginners structure their learning, and helps studios deliver characters that animators actually enjoy working with.
Whether you go with a custom rig or an auto-rig solution, remember: a great rig is one you stop noticing, because it simply works.
FAQ About the Character Rigging Process
Is rigging part of modeling or animation?
Neither, really. Rigging is its own discipline that sits between modeling and animation, translating a static asset into a controllable puppet.
Do I need rigging for 2D characters too?
Yes. Tools like Adobe Character Animator, Spine, or Live2D use 2D rigging to deform artwork using bones, meshes, and controls similar to 3D rigging.
What software is used for character rigging?
Common choices include Maya, Blender, 3ds Max, Houdini, and Cinema 4D for 3D, plus Spine, Live2D, and Adobe Character Animator for 2D.
Can I animate without rigging?
You can animate using simple object transforms or vertex morphs, but for any character with limbs and expressions, rigging is essentially unavoidable.
What makes a good rig?
A good rig is intuitive, fast to manipulate, deforms beautifully, is well-documented, and behaves predictably in extreme poses.